
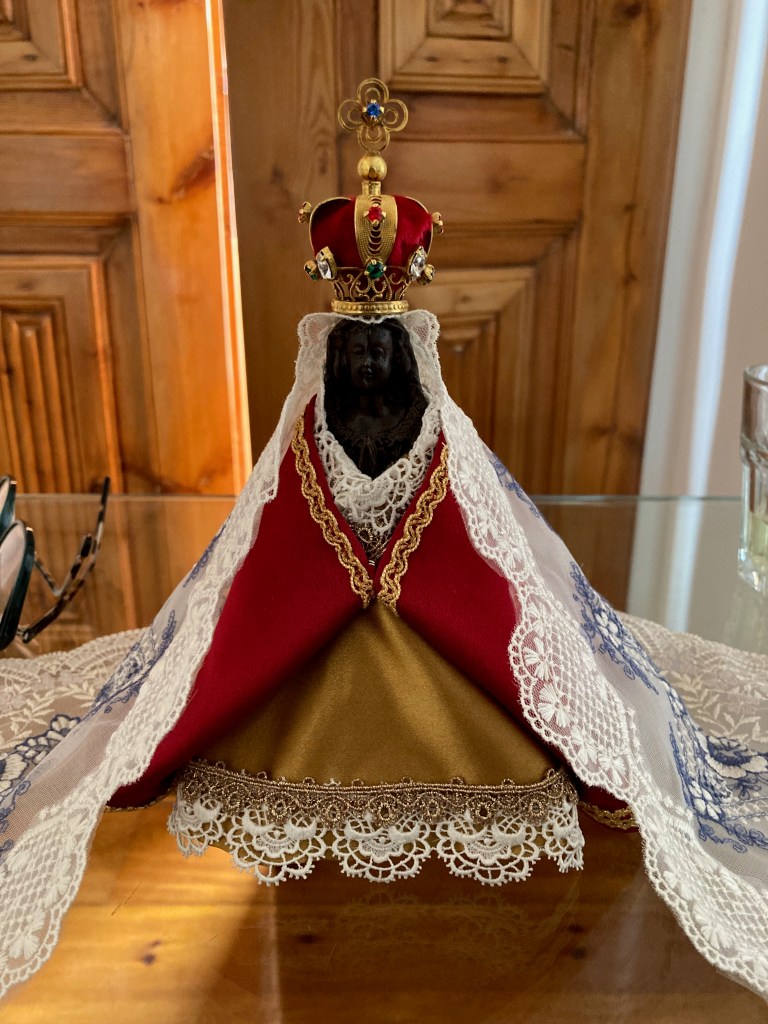
This year’s Easter dress for My Lady. The lining of the reversible cape is an Indian fabric that was added to the design at the last minute. I had seen a bright orange dress at a chapel in Ecuador, and that inspired this one.
This year’s Easter dress for My Lady. The lining of the reversible cape is an Indian fabric that was added to the design at the last minute. I had seen a bright orange dress at a chapel in Ecuador, and that inspired this one.
Some frustrations in recent years have revolved around an intense desire to make beautiful things running into a lack of skill or time to make them combined with a lack of available skilled people to pay to do them for us. Several friends and I have formed an unofficial ‘atelier’ (the common Brazilian-via-French term for an artist’s studio) where we do all sorts of little projects. The atelier isn’t even in a fixed location, though we sometimes work at each others’ houses and we share materials.
Some recent projects have included: experimenting with making arrangements of artificial flowers, painted gold, in imitation of the metal flowers found on baroque Brazilian altars; making rosaries; designing embroidery for altar linens or chasubles; sewing altar frontals; redoing the decoration on old chasubles; and making robes and dresses for religious statues.
Some of the work has been partially outsourced to shops, but there we frequently run into our own problem. The professionals are so overburdened and behind schedule that it can take many months just to hear that they haven’t yet started on your project…
Most of the professionals are family businesses, with a mom or dad being the main artisan, and the kids and spouse helping out with simpler tasks, accounting or deliveries. In other words, there’s really just one person doing all the work, and they don’t want to turn away anyone who wants work done. There’s also a tendency here to give priority to higher status people or people with urgent deadlines (ordinations, for instance) so the line is constantly being jumped by priority clients, leaving others in a never-ending tail end. Thus the desire to do it my darn self…
I then realize my own line is just as slow that of the pros. In a fantasy life I’d have a workshop full of diligent elves making all my ideas to order. It feels a bit of a shame to have a head so full of ideas and not enough hands or skill to make them.
This video reminded me of some anecdotes, which I have jotted after the video.
God willing I will begin making my own dresses this year. I’ve ordered my first two patterns and am buying fabric…. I am confident in my hand sewing skills after spending a year embroidering and making clothing for saint’s statues. News to follow!
The angel I began embroidering is still underway. The text “Gloria” got done and redone several times as I experimented with stitches for the lettering. The wings are currently on their third revision, as there needs to be the right sort of layout of feathers to please my eye, and I had only sketched it loosely. I took out the second try, drew a design more clearly, and am now re-addressing that. Not sure how I might vary the colors. I like the multicolored wings found in many depictions of angels:
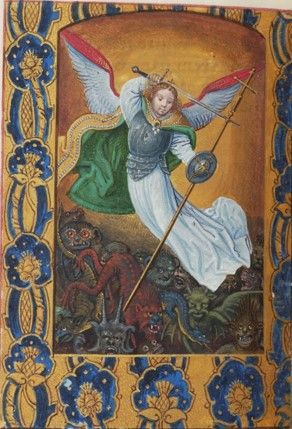

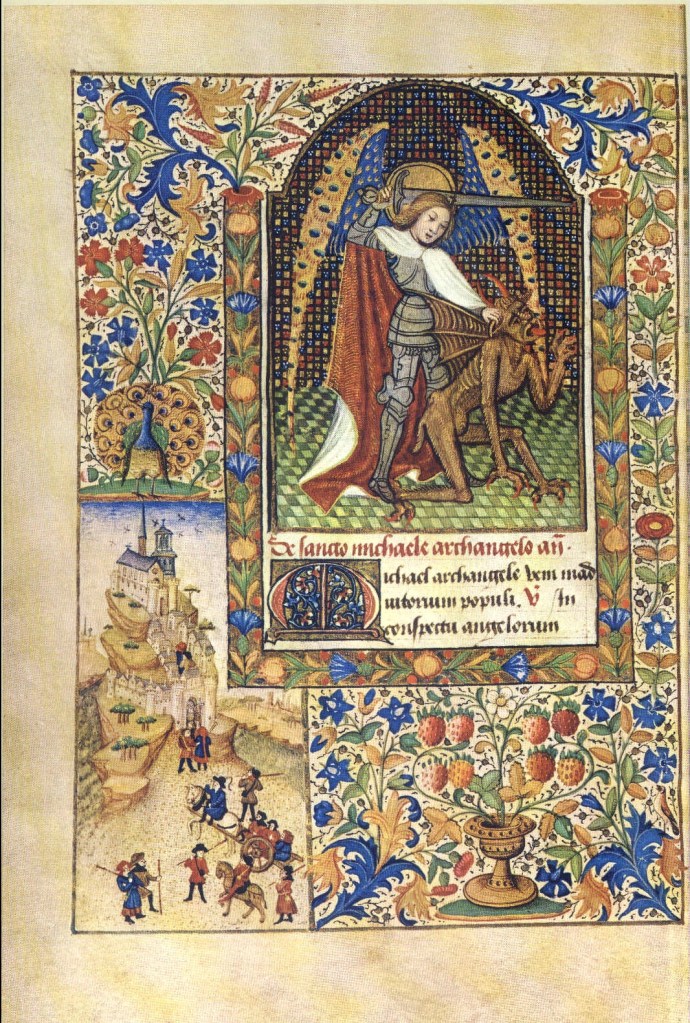

There’s an enormous variation in the styles and colors of wings. Mine’s going for green and gold at the moment:

On another note: I’d like to thank Sarah Homfray for her excellent, encouraging and calming series of embroidery videos which I watch repeatedly. And also Steve Young, a horse trainer whose long, real-time videos with chatty commentary are also great company while I stitch.
I really miss being around horses. Today my former trainer sent me a video of my elderly mare. She looks great for her age!!

I’ve spent the last couple years looking at a lot of old liturgical embroidery (in books, online), studying how faces are done. I’d helped a friend plan a machine embroidery of two angels a couple years ago and it was a lot of work getting the features just right. We worked with a professional embroidery machine programmer, and though she did a lovely job it was challenging learning how to communicate what we wanted. So they turned out well enough, but it was enormously time consuming. Then again, embroidering things by hand is time consuming. But sometimes doing something yourself is a time saver over explaining it to someone else.
So I had started practicing simplified ‘cartoon’ faces based on romanesque and gothic art, using Adobe Illustrator, thinking that if I could give the programmer vector art instead of paper sketches that might help a lot. But though I enjoy that process to some degree, I really enjoy working with tangible materials, and the other day decided to just pick a simple design and embroider it and see ‘where the shoe pinches’, as my voice teacher used to say. Doing reveals problems and challenges to work on in a way thinking about it never does.
I chose a simple angel in stained glass with heavy outlines and little detail, traced it with a pencil on a piece of white cotton (gently! so as not to damage my laptop screen!) Were I at home I would have printed it out and taped it to a window and then traced it using the window as a light box. But I am traveling, so very gentle pencil tracing is the solution. Since the main point was to just to practice, I didn’t worry about the exactness of the tracing.

Anyway, I started out outlining the head and features in dark brown, then filled in with a couple shades of pale pink. I’m not sure yet whether the heavy outline around the head was necessary, but given that these images will be seen from a distance, I think the heavy and simple features and outlines are helpful. I would like the fill to seem smoother, which might be possible with more careful stitching using my magnifier (which I don’t have with me).
Then I did the hair, starting with a dark ochre, then a medium ochre, and finally a pale yellow for highlights. I thought that turned out rather well, though here and there the direction of the hair got a bit random, as I ‘painted myself into a corner.’
Then I filled in the neck, and I will wait to see later if the ‘shading’ on the side of the neck looks okay or would be better done in another color or not done at all.
And then I thought I’d try some metallic thread I found on the trip. I started with three strands, which was not easy to work with. The thread is springy and stiff, and sometimes the three strands didn’t lay smoothly together and once one strand somehow fell out of the needle and got left behind for a few stitches. After a while I switched to using just one strand and repeating each stitch three times to give the weight and thickness I wanted. That was much easier. I started filling in the halo between the rays, making a contrasting direction with horizontal stitches using only one strand (with no repetition).
The metallic color is not exactly what I would prefer – a warmer gold is more to my taste – but it’s good practice, and a good way to get to know that kind of thread. All the thread is DMC. I’m using a piece of cotton like that found in bedsheets – it has a nice smooth surface and tight weave and stays put in the embroidery hoop without stretching or bagging too much.
We’ll see how this goes! I do hope you find these examples encouraging for trying your own projects.
I did finally finish a blue mantle for Our Lady. The combination is really lovely, I think.

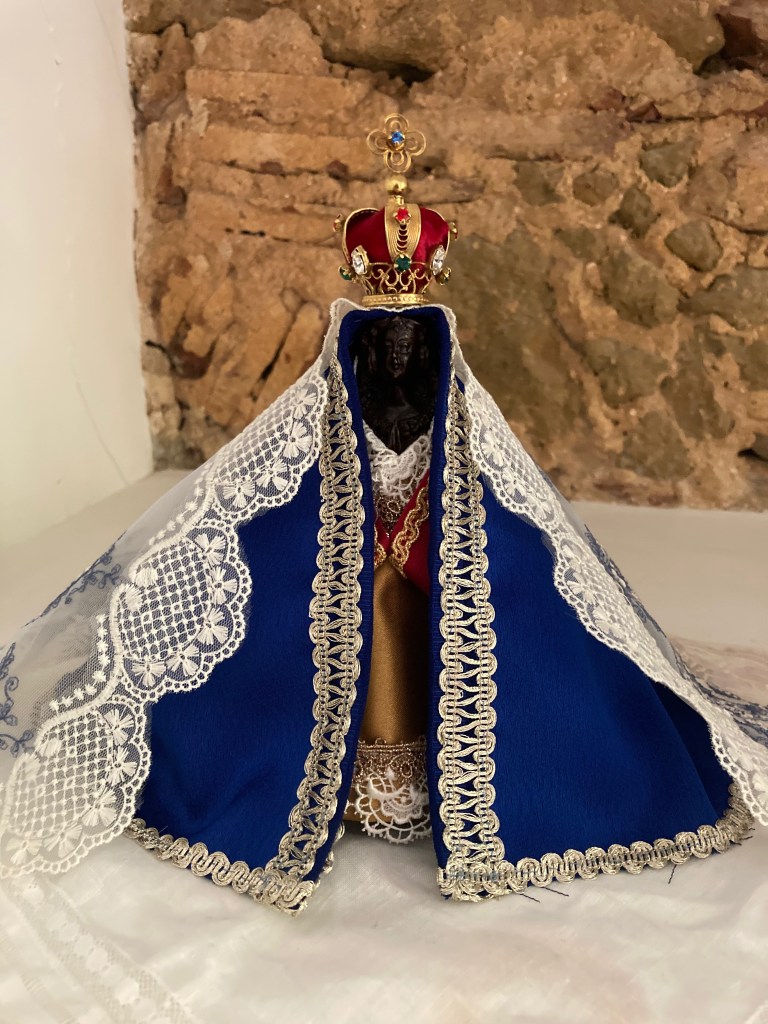
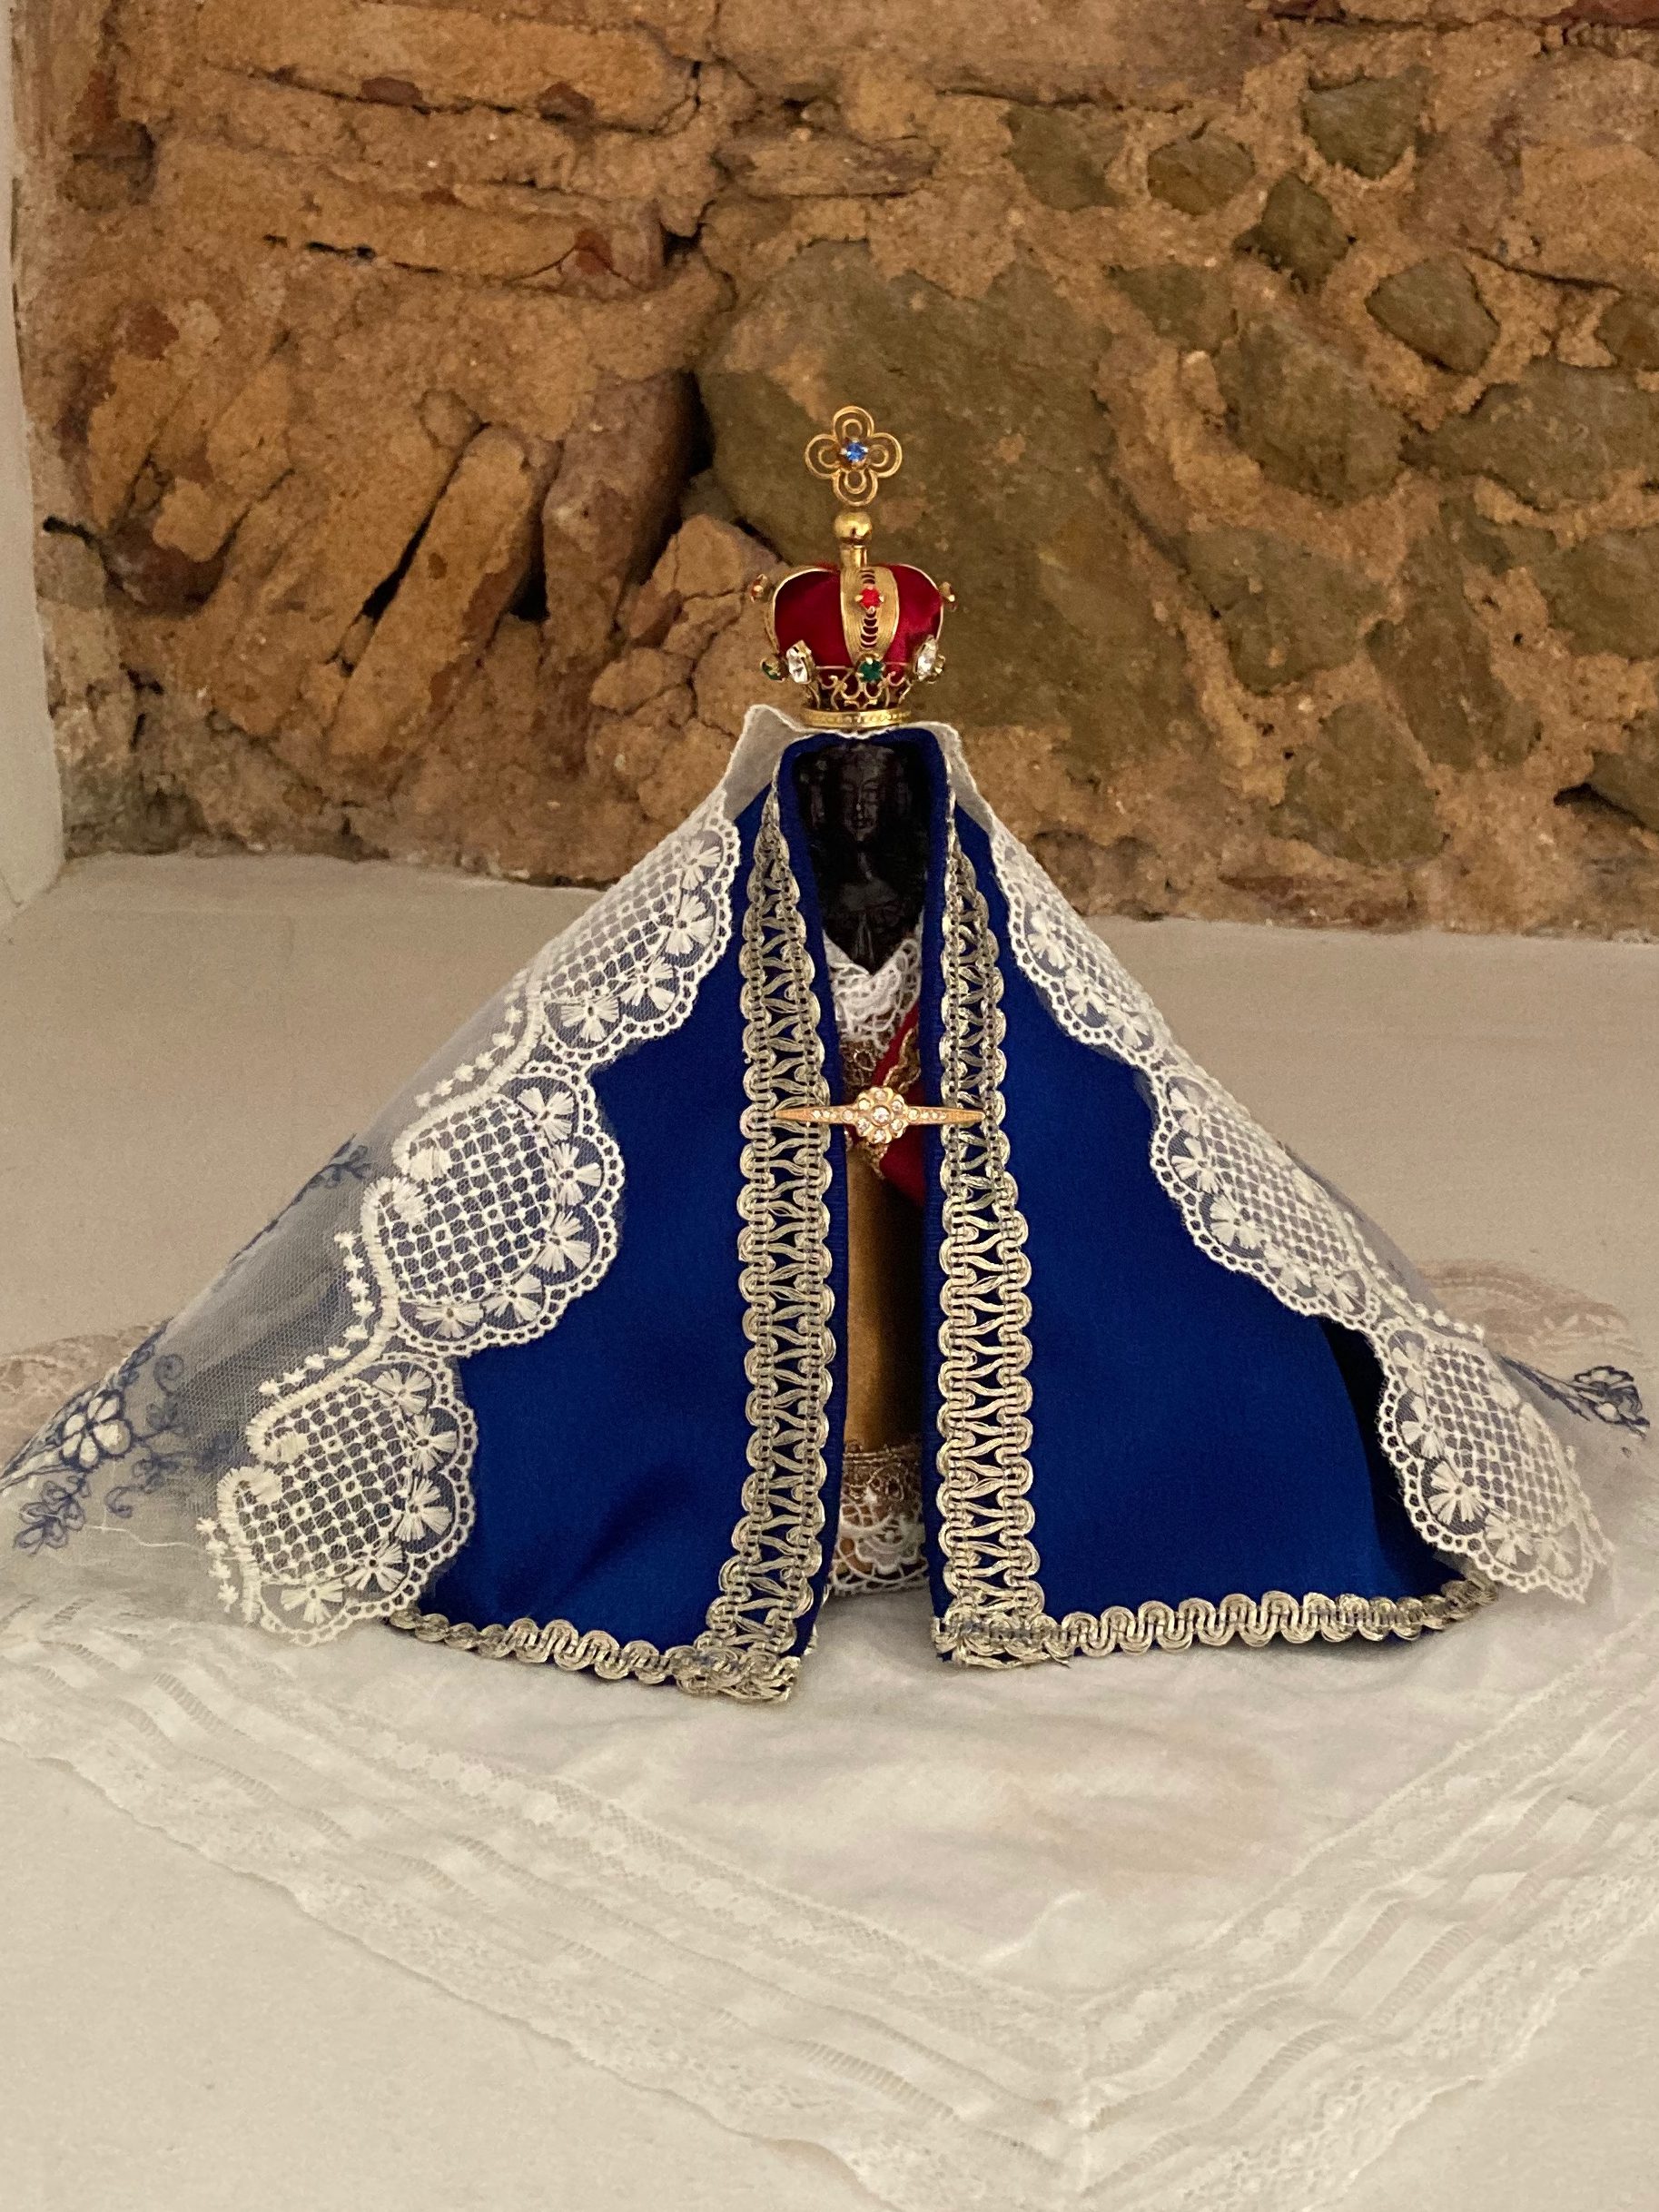
One thing I wanted to try is making a different dress for underneath. I have a lovely cherry/rose sort of colored satin that is light and drapey. I want to see how that would work for a different style of dress. The original image has a carved drapey gown. Not sure I can duplicate the look, but it would be interesting to experiment.
The blue mantle is still underway, as I got sidetracked making a lovely lace mantilla… made from the remnant lace I scrounged at a couple of shops in Barcelona:
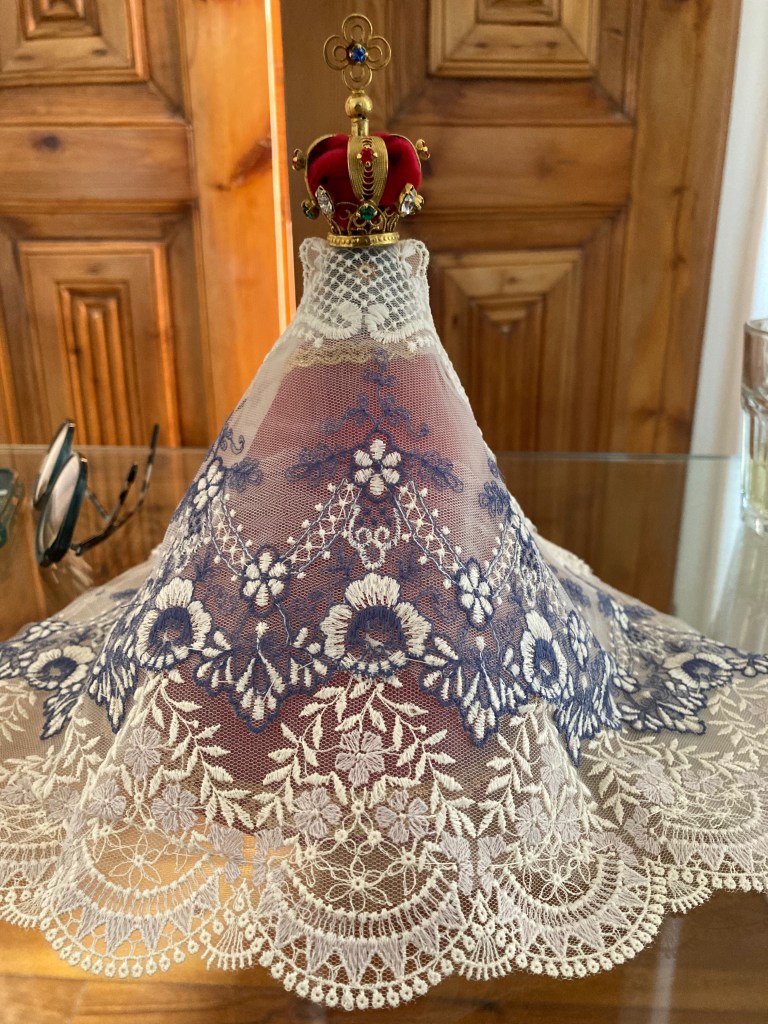
It was fun learning to sew the embroidered laces (for now tacked together gently without any knots, so they can be undone and redone if necessary), and it seemed quite possible that it’s not too difficult to embroider on netting to make one’s own designs. I used a piece of sheer gold-white organza underneath as a support, though I’m not sure that’s necessary.
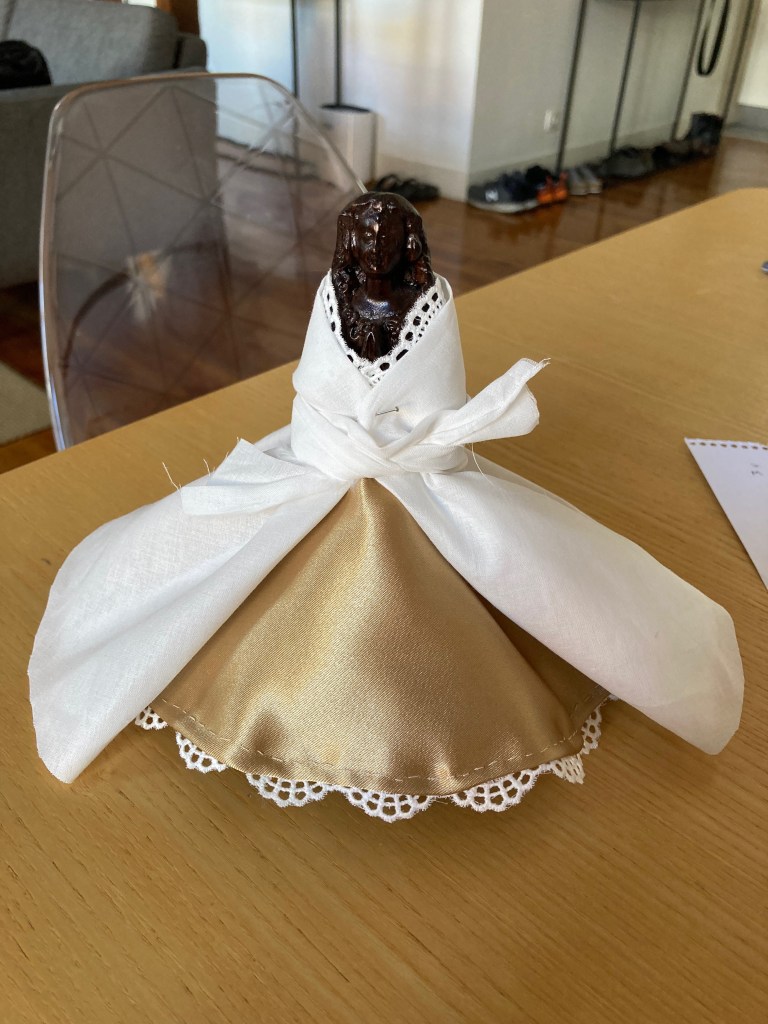
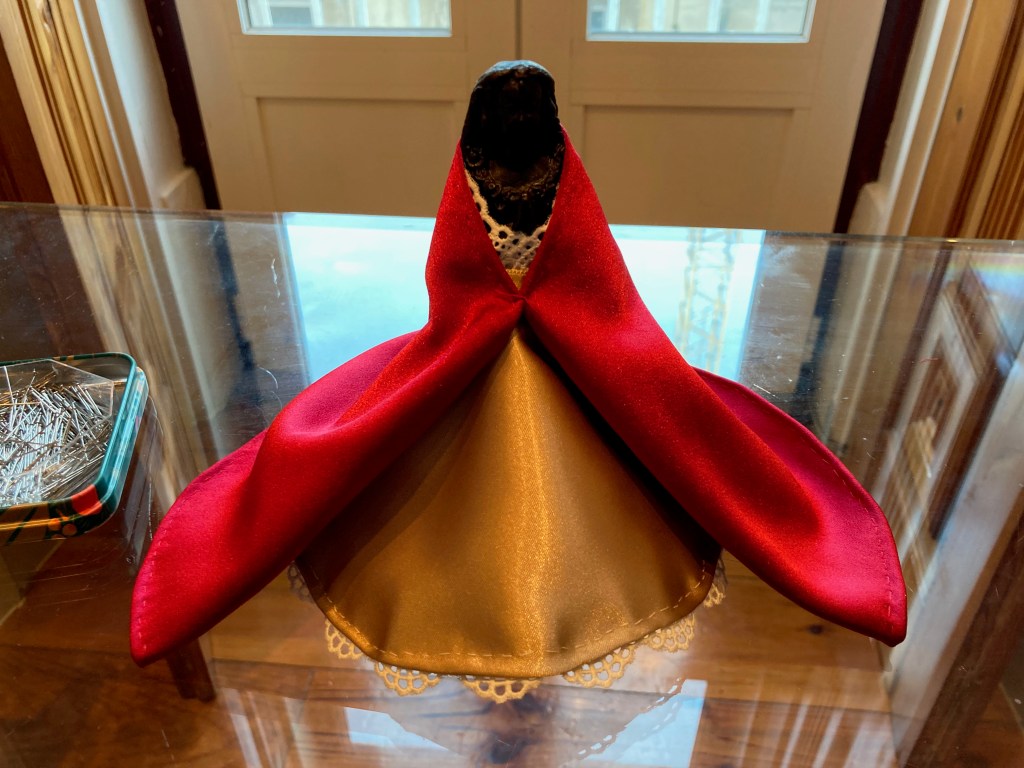
I’m pleased enough with this gold underdress with red overdress! The gold underdress was a challenge, but today I set about adding lace and that improved it quite a bit:


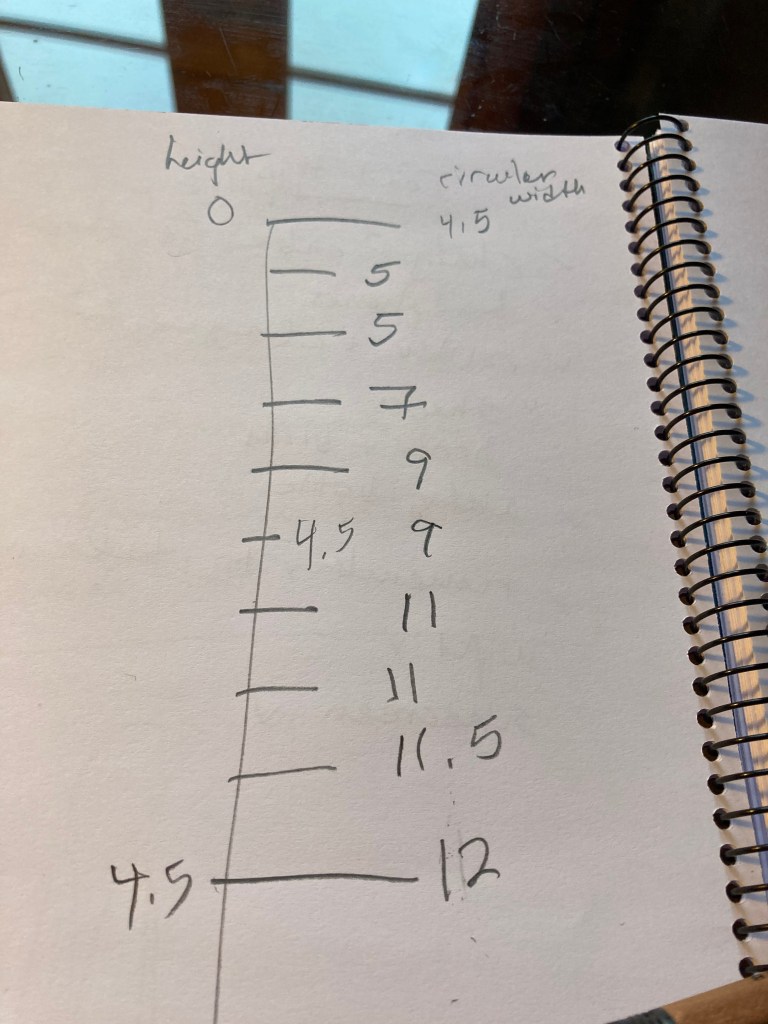
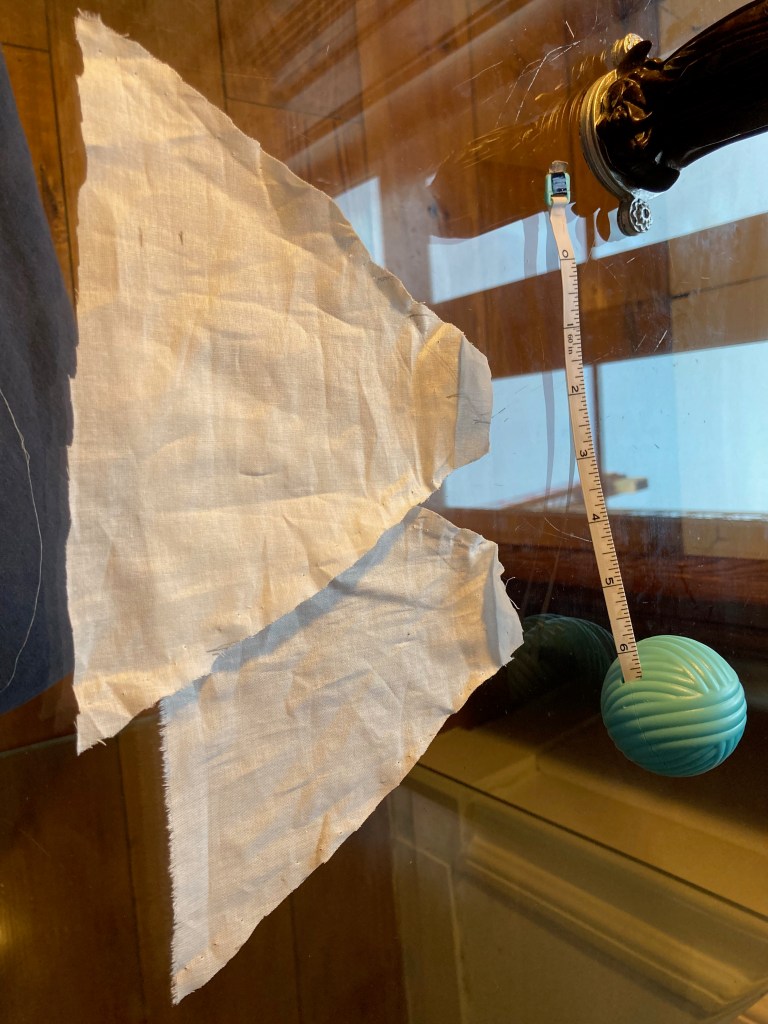
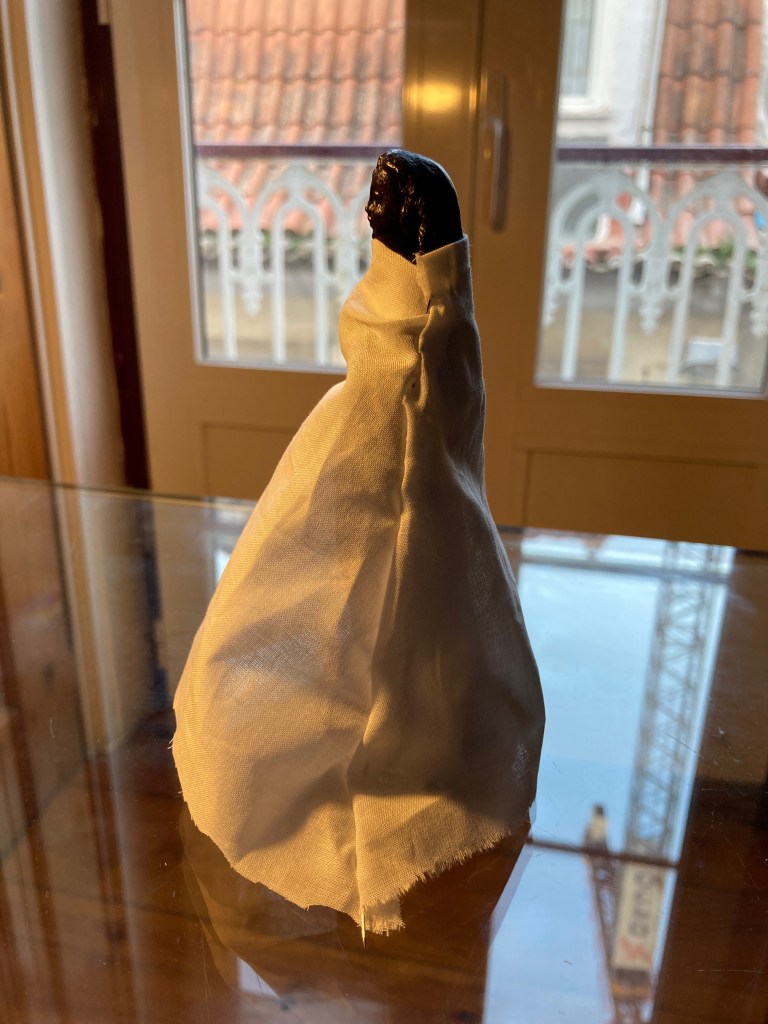
The gold underdress proved to be a struggle. I did a range of mock-ups with a light cotton, trying to get the fit I wanted: ‘A frame’ as it were, with the hands visible and the right amount of extension around the ankles. Multiple tries with modified rectangles and semi-circles didn’t work at all.
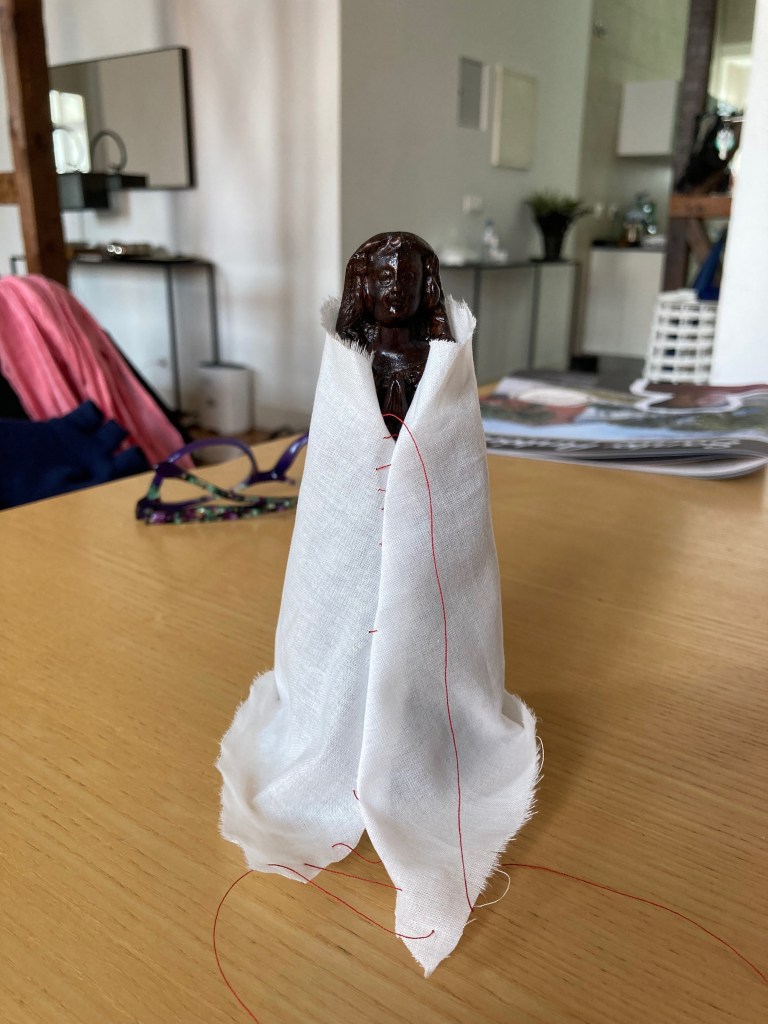

Doing the sewing in the gold satin was a bit hampered by the lack of an iron in the airbnb where I am staying. I discover (duh) that fabric that doesn’t wrinkle easily also doesn’t iron easily. Some fabrics will ‘cold press’ if left under a heavy book overnight. Not this one. So, this will have to be a “please don’t look at the back!” dress for now. Another time I’ll make a tidier one. Nonetheless I think it’s going to work well with the red overdress.


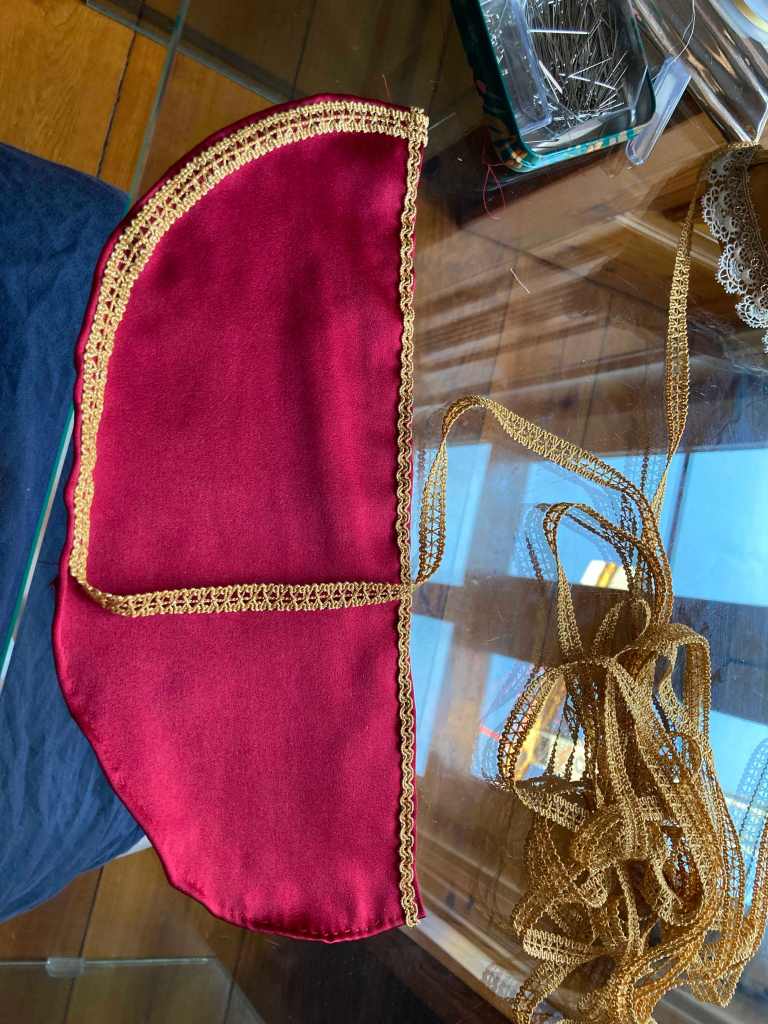
So the rough idea for the red overdress is like this. Off we go to see how it works out!


I stitched the finished overdress shut just below the hands to try it on.
When I lie awake at night I enjoy brainstorming what I will do to resolve this or that problem. I did try folding and pleating the gold underskirt in various ways but I don’t like the result at all. I think it might be better if it were simply narrower altogether. I will probably cut a new one entirely, as the existing one is quite cool and might have a good use in a different context.
Here’s the red overdress without the skirt:

